Installation
The first step to using W4 Cloud services in your project is to add the W4GD GDScript SDK Godot addon. You can find the latest release at https://gitlab.com/W4Games/sdk/w4gd/-/releases.
Requirements
The W4GD GDScript SDK requires the following to access most features:
Godot Engine 4.0+
Network access to W4 backend servers
The Anonymous API key provided in the project dashboard (under DOCS > API in the menu)
Copy W4GD into your project
The quick and easy way is to download W4GD from the repository:
Browse to the release you want to install (e.g. the latest one)
Locate the w4gd.zip download link at the bottom (latest w4gd.zip)
Download and unzip it into your Godot project folder so that the resulting structure is addons/w4gd.
You can alternatively install the downloaded zip file via the Asset Library using the Import button.
You may want to make note of the W4GD version you are now using (this will also be written inside a file called VERSION-W4GD that you will find in the zip). If you run into issues, checking whether an updated SDK containing bugfixes is available can be helpful.
Consider committing your addons to version control software to easily track them (also known as vendoring dependencies).
Enable W4GD addon
After you copied addons/wg4d/ into your project as described above, start the Godot Editor. Open Project > Project Settings and locate the Plugins tab. You should see the W4GD addon listed. Set it to Enabled.

Note
As of Godot 4.2, you may see errors such as Parse Error: Identifier
"W4GD" not declared in the current scope. the first time you open
the project after copying the addons/w4gd/ folder. This is a
known Godot issue. Restarting the editor should fix it.
Configure the addon to use your W4 Cloud workspace
Once the W4GD addon is enabled, you will see the W4 Cloud panel in the list of the screens at the top of the editor:

Navigate to the W4 Cloud screen and you will be asked to perform the initial configuration:
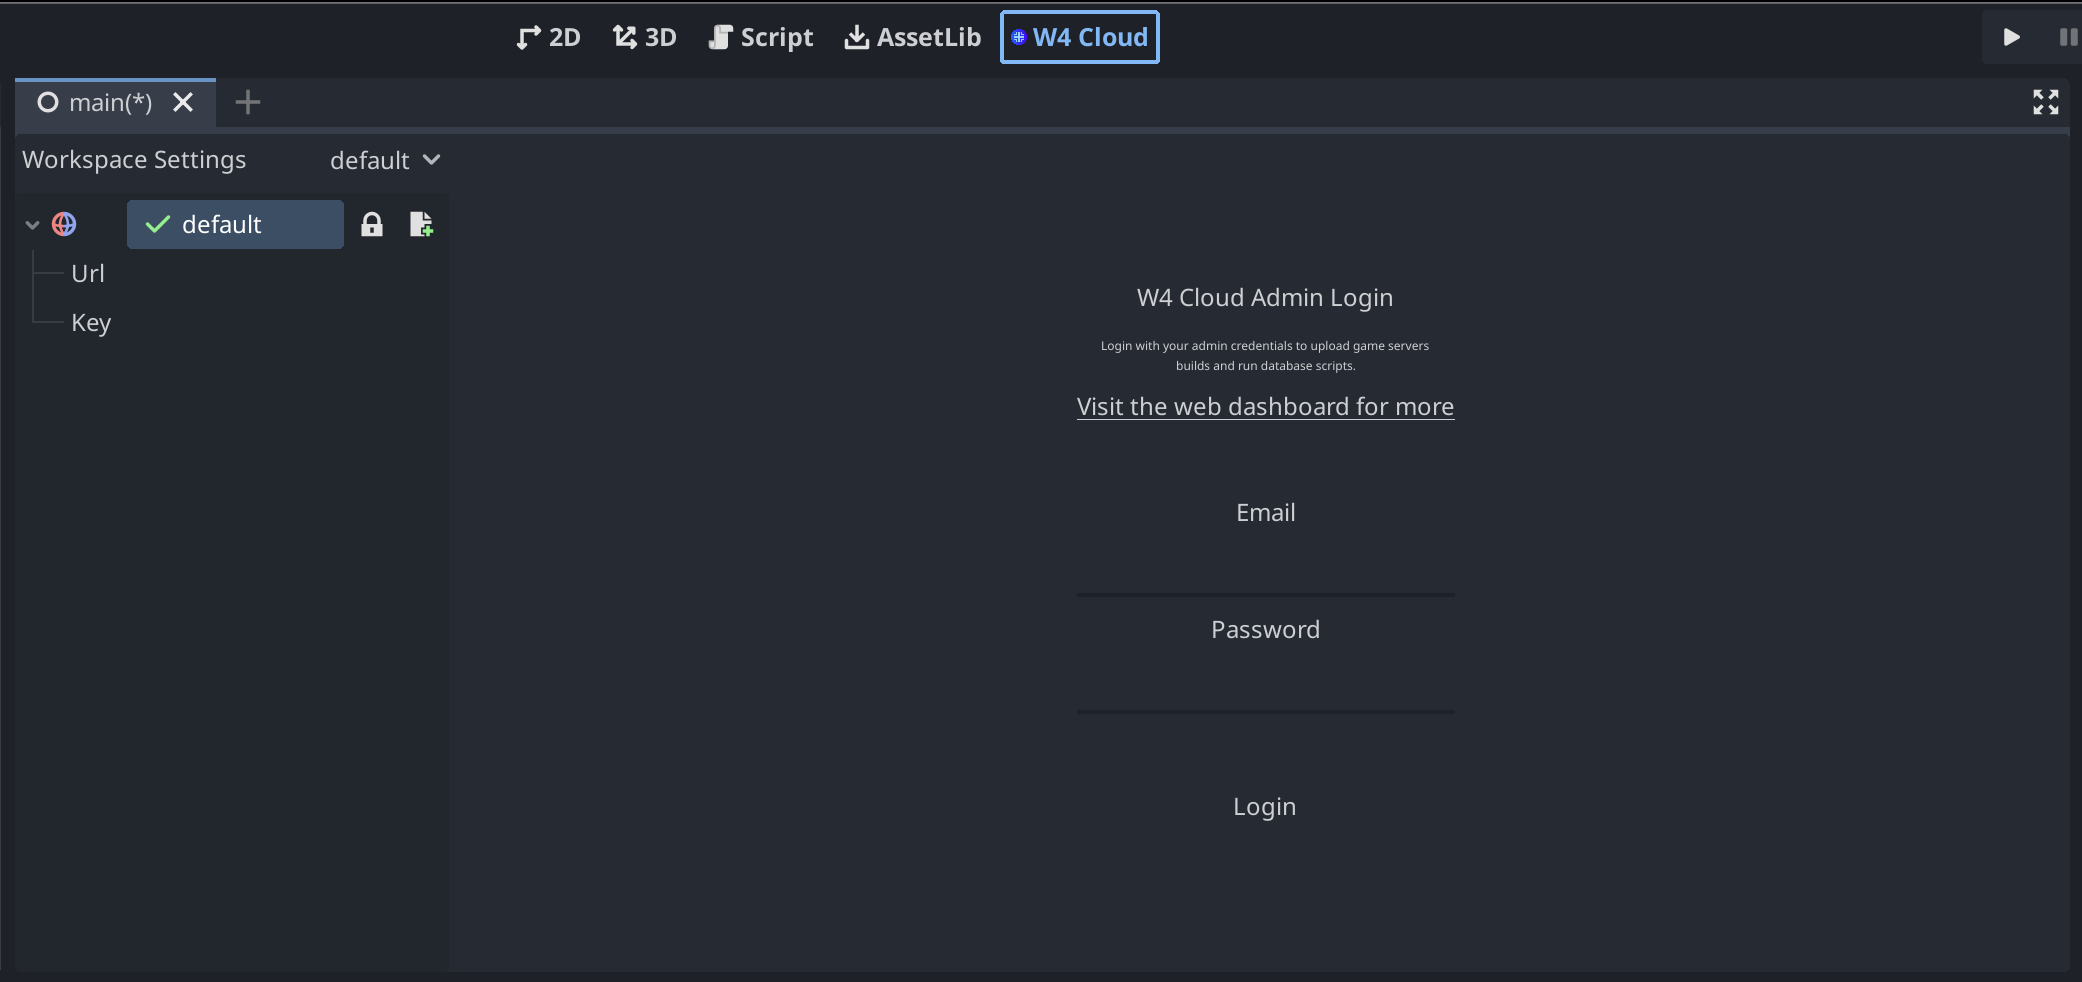
Enter the URL to your backend (in the form of
https://<project>.w4games.cloud/)Enter the Anonymous key for your backend (you can find the API keys under DOCS > API in your dashboard, or browse directly to
https://<project>.w4games.cloud/dashboard/docs/api/, see also About API keys below)Press Save to complete the setup.
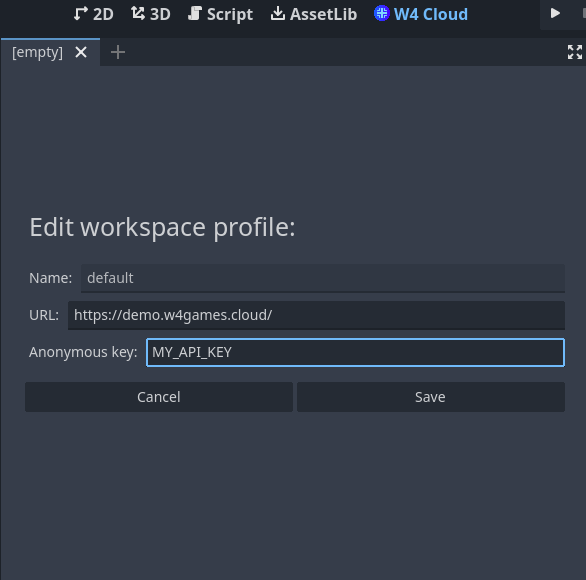
If you made a mistake, you can edit your profile settings by pressing the settings button near the profile name, and selecting Edit profile.
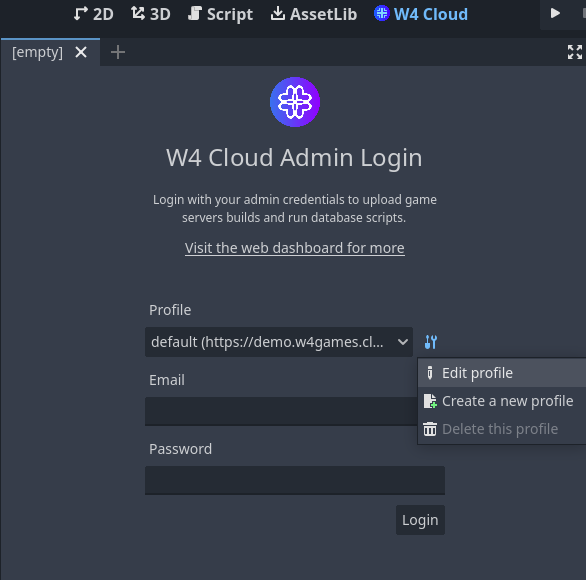
The W4 screen allows you to configure multiple profiles. Different profiles allow you to set different settings for example for live or production servers and test or development servers, so your project connects to different backend systems depending on the profile.
When exporting the game, the Default profile will be used.
About API keys
You generally want to always use the Anonymous API key. This API key is intended to have the least privileges. The intention is for users to use it to then authenticate and be granted a more privileged personal key that is allowed to access (and change) more data.
The Service API key is privileged and should only be used for running automated administrative tasks (e.g. continous integration like GitHub or GitLab actions).
Warning
Make sure to never distribute your Service API key. Do not include it in your distributed project's code, avoid putting in in your version control system.
Handle the Service API key like an admin password or secret, because it is.