Uploading a Build
Now that we're done with all that hard coding work, it's time to set up the W4 servers and upload an export of our game there.
That's going to be fairly easy. We are going to:
Export and upload a build of the game.
Create a fleet. It's a collection of game servers running the same game build.
Assign the build to that fleet.
Creating an export
First, we have to export our Godot game to run on the server.
In Godot, go to Project > Export….
At the top of the window, click the Add… button and create a Linux/X11 export.
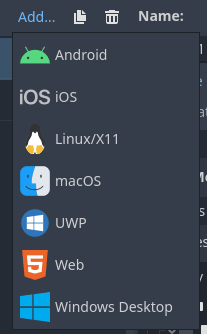
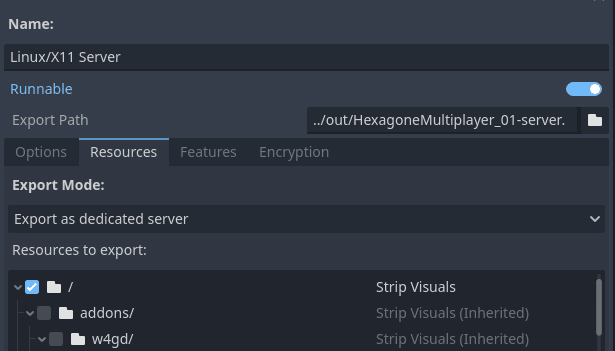
In the top-right of the window, you'll see that the default export name is Linux/X11. We recommend setting a clearer name to distinguish your exports. This one could be "Linux/X11 Server", for example.
Then, navigate to the Resources tab, and in the Export Mode: dropdown menu, select Export as dedicated server. This will configure the export to run as a server, without the graphical interface.
We're ready. Click the Export Project... button at the bottom of the window and save the file to the location of your choice.
Note
It's not necessary to make a server-specific build. W4 will accept a normal export, but a server build is smaller to upload as game assets are stripped out.
Warning
Known issue: In Godot 4.1, a server export may fail with this project. If that's the case, set the Export Mode to Export all resources in the project.
There are two ways to upload your build. Through the browser, or with a very convenient Godot helper.
We'll describe how to do it with the helper here, but check out the Annex page for the manual upload option.
Simple upload with the Godot plugin
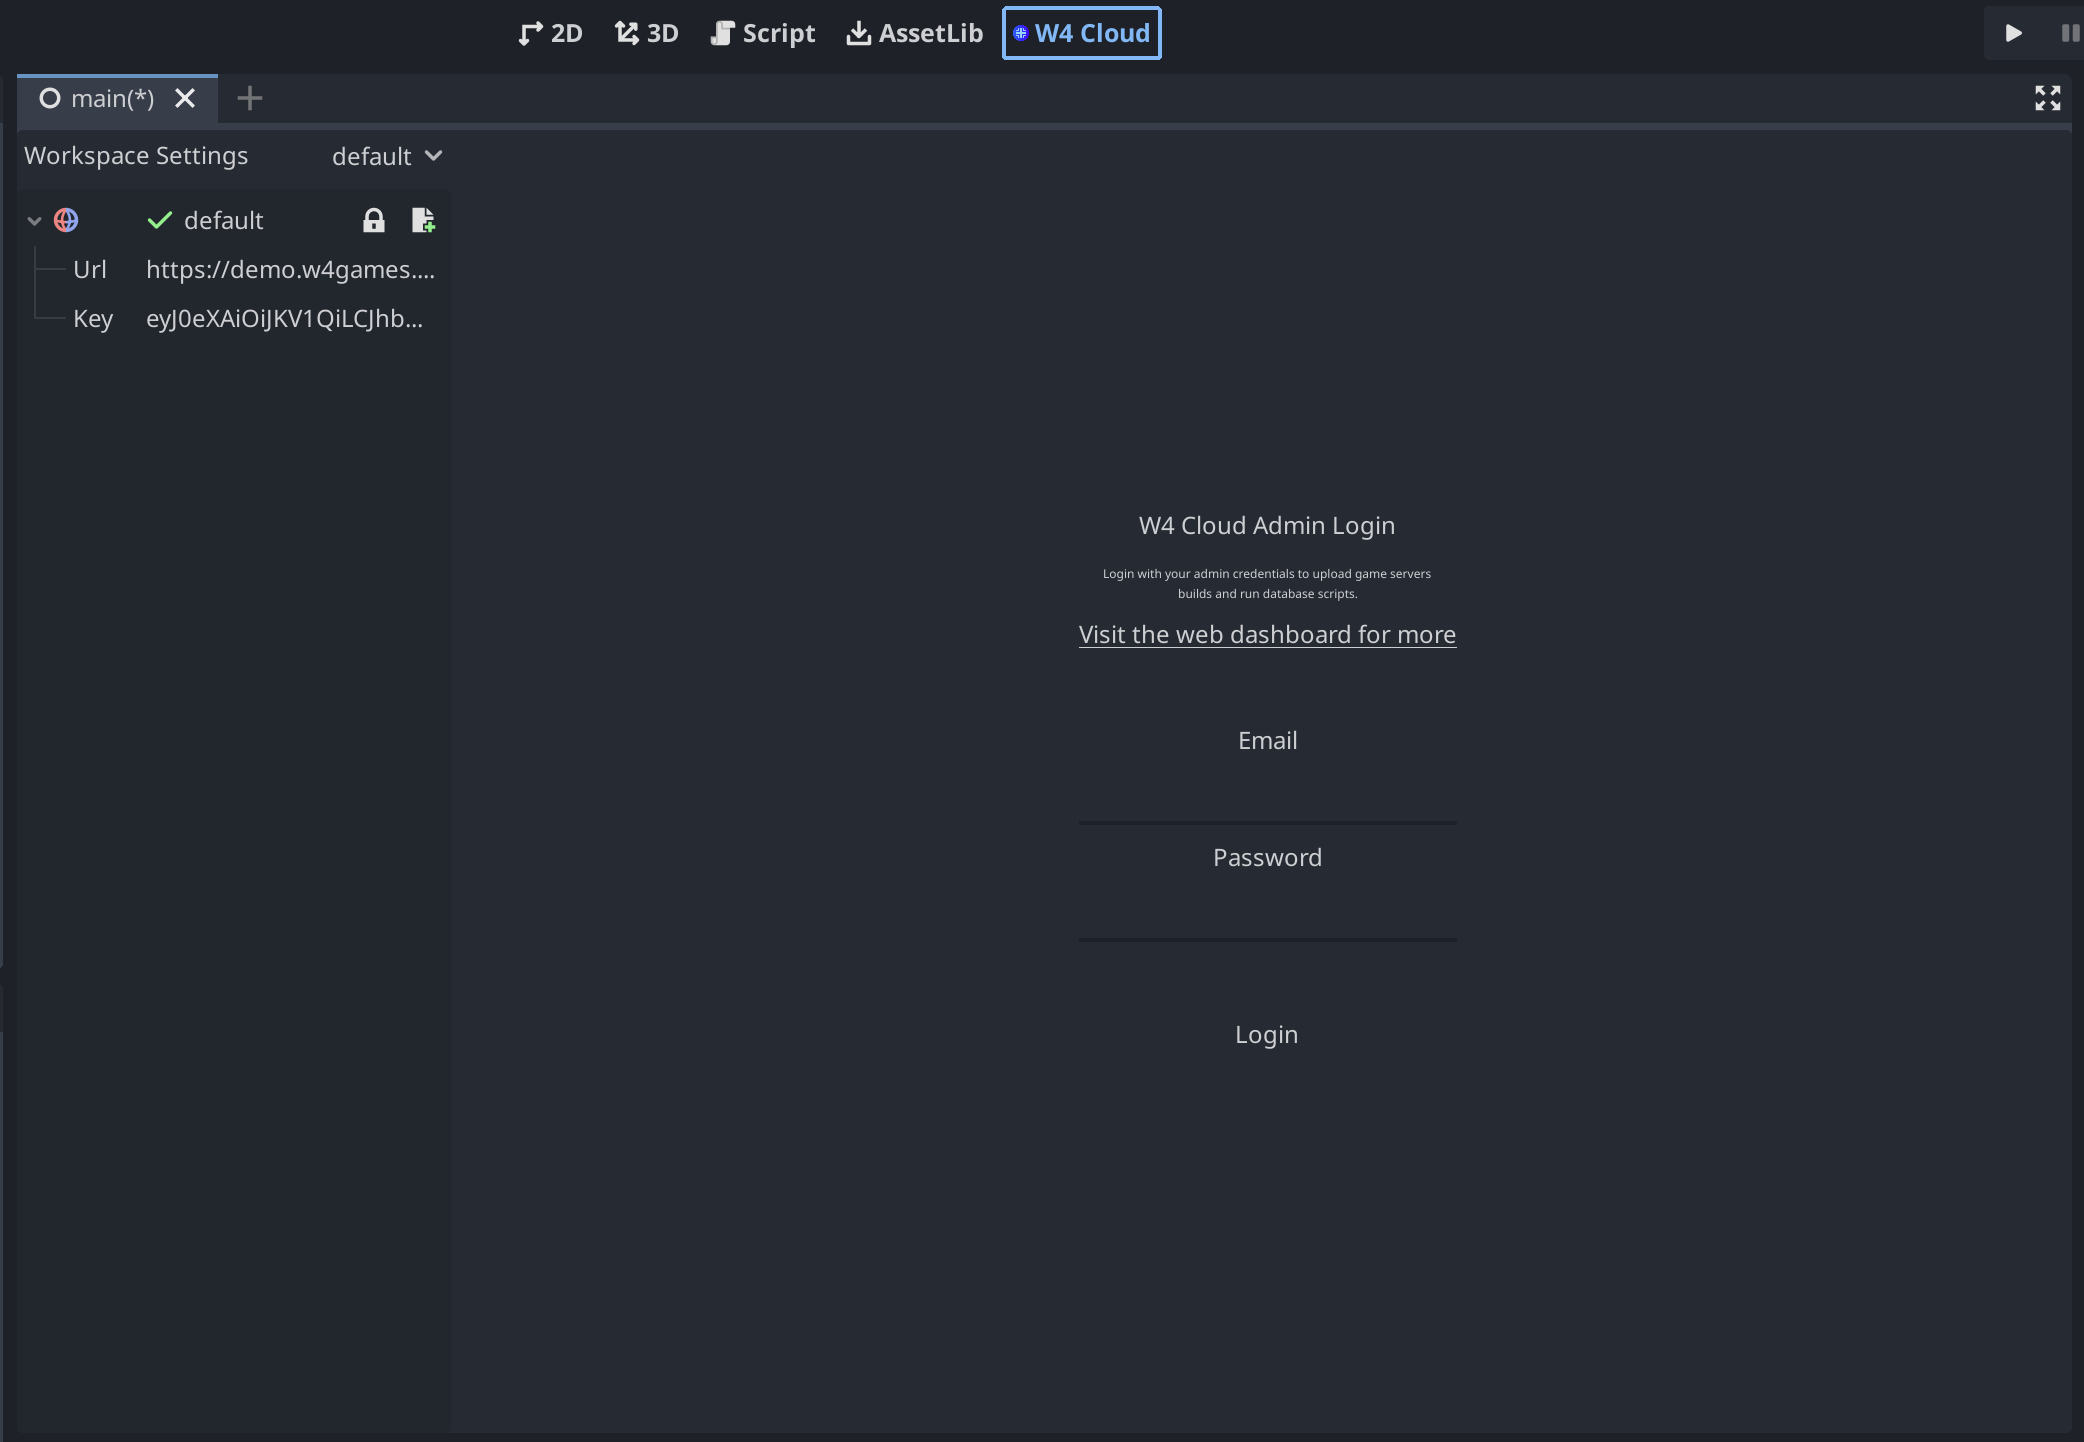
In Godot, go to the W4 Cloud screen, and log in using the same credentials you use to log in to your W4 dashboard:
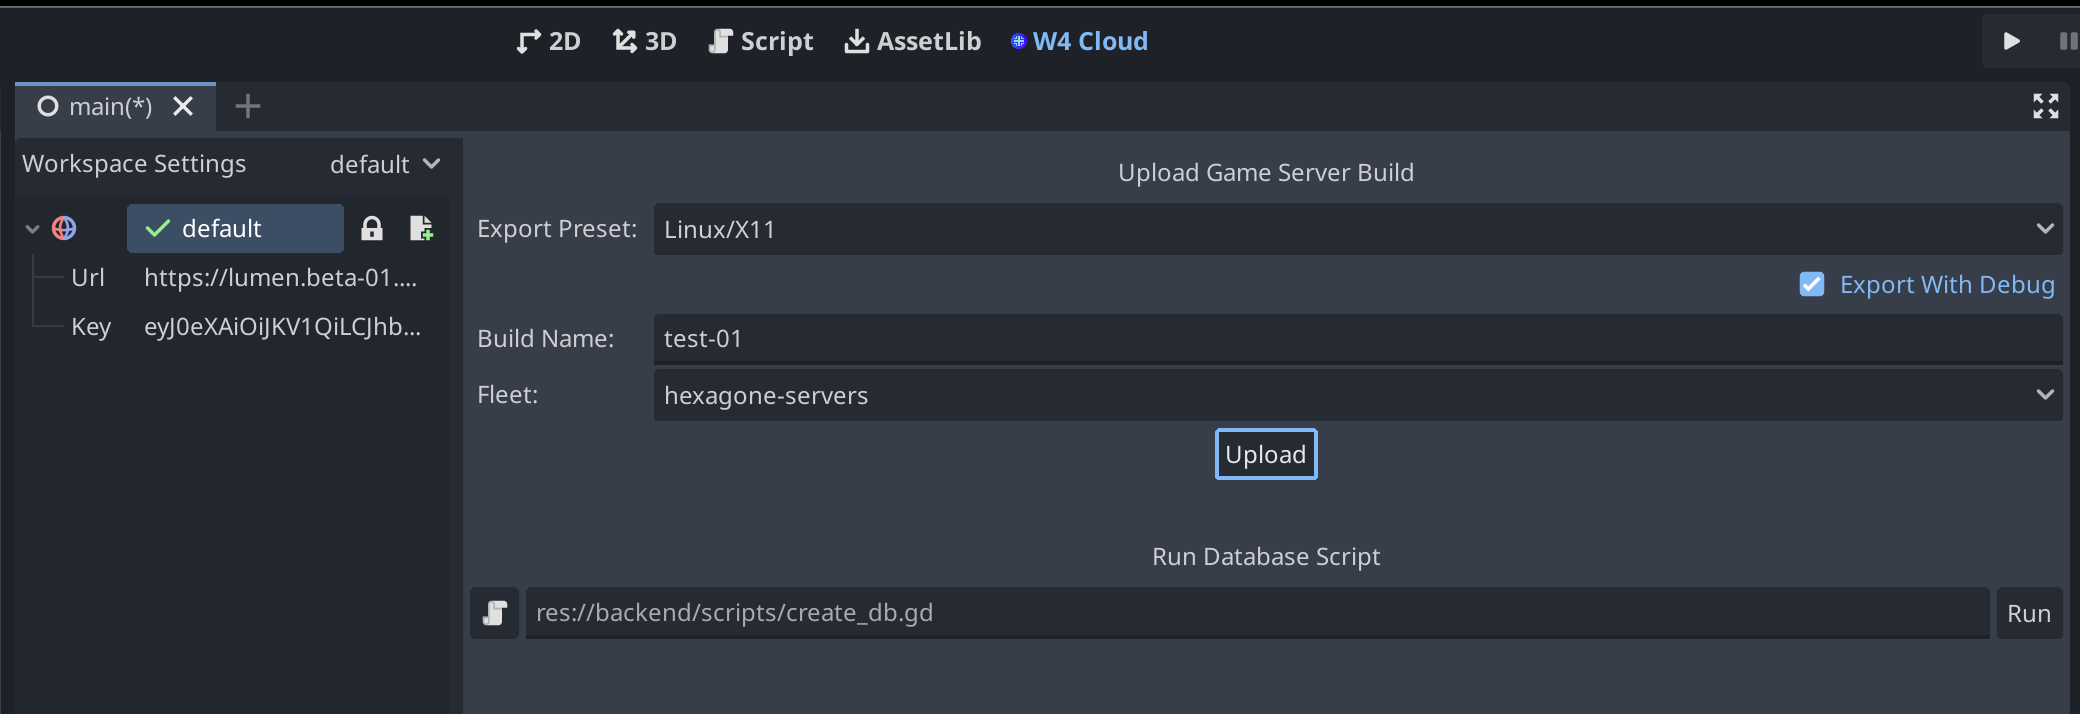
Fill in the options:
Export: The export name you set earlier in your export configuration.
Name: Normally, you would use version names, but it can be anything.
You can ignore the Fleet dropdown menu for now. We first need to upload a build before creating our first fleet. Once you've set up your fleet, you'll be able to select it in this menu and replace the build running on the server.
Once the upload completes, we're ready to create a fleet.
Creating a Fleet
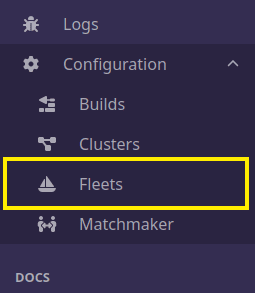
Login to your W4 dashboard, and in the menu on the left, click Configuration > Fleets:
This will take you to the fleets page. You probably don't have any fleets yet, so let's create one. To do so, click the New Fleet button in the top-right.
We only need to fill in four properties: name, cluster, build, and
port. Everything else is optional.
For the
name, enter any name that makes sense to you. This is a label meant for you: Players won't see it. For example, you could call this onetutorial.In
cluster, pick the server region of your choice.In the
builddropdown menu, select the build you uploaded earlier.In
port, enter the same port your game code uses. In this series, we used port10567.
Click the Save changes button at the bottom to save your fleet.
Once the fleet is created, you're done! You can now run your game from Godot and test it with a single player!

How to test multiplayer functionality alone
How can you test with more players? Unfortunately that isn't super easy.
Godot can run multiple debug instances, that's not a problem.

Unfortunately, there is no way, at the moment, to distinguish between them from the running code.
Which means they will all use the same W4 login. If you're working as part of a team, of course, each teammate could run an instance of the game on their machine.
But what if you want to test your multiplayer code alone?
Going into detail is beyond the scope of this series, but here are a few options for you to consider.
Option 1: Use A different machine
The simplest option is using multiple devices you own and running an instance of the game on each.
You could make an Android build or run the Godot project on a second laptop. Also, you could run a copy of the game in a virtual machine.
These options allow you to effectively have multiple user profiles.
Option 2: Enable manual logins
Another option is to not use the login_device_auto() method, and instead
set up a form for users to enter their credentials.
Instead of this:
var login_result = await W4GD.auth.login_device_auto().async()
You would use the W4GD.auth.login_device() method:
var login_result = await W4GD.auth.login_device(id, password).async()
Where id and password are the user's credentials.
Option 3: Make a Profile Chooser
The previous approach is simple but each time you run the game, you have to enter the credentials manually.
You could instead create a debug drop-down menu or some other way to select a user profile to authenticate with.
In this project, we mentioned how we used a ProfileData class. You can
use it for this purpose:
var profile := ProfileData.restore()
var login_result = await W4GD.auth.login_device(profile.login_uuid, profile.login_key).async()
In the ProfileData class, we generate the login_uuid and login_key
values, which enables credentialless logins. But we save the data locally
instead of having it automatically saved by W4 Cloud.
You could reuse this class, then design a debug menu that allows you to pick between different profiles to authenticate.
Option 4: Run your own instances
In the complete Hexagon demo project, we implemented a Godot plugin to run multiple instances of the game and automatically assign a different user profile to each running instance.
This tool requires code to read command-line arguments, a plugin to run multiple instances of the game, and more. So, it's slightly complex. If you're interested, you can find the source code here: