Annex
How to access server logs
You can access the logs for debugging on the "logs" tab of your dashboard
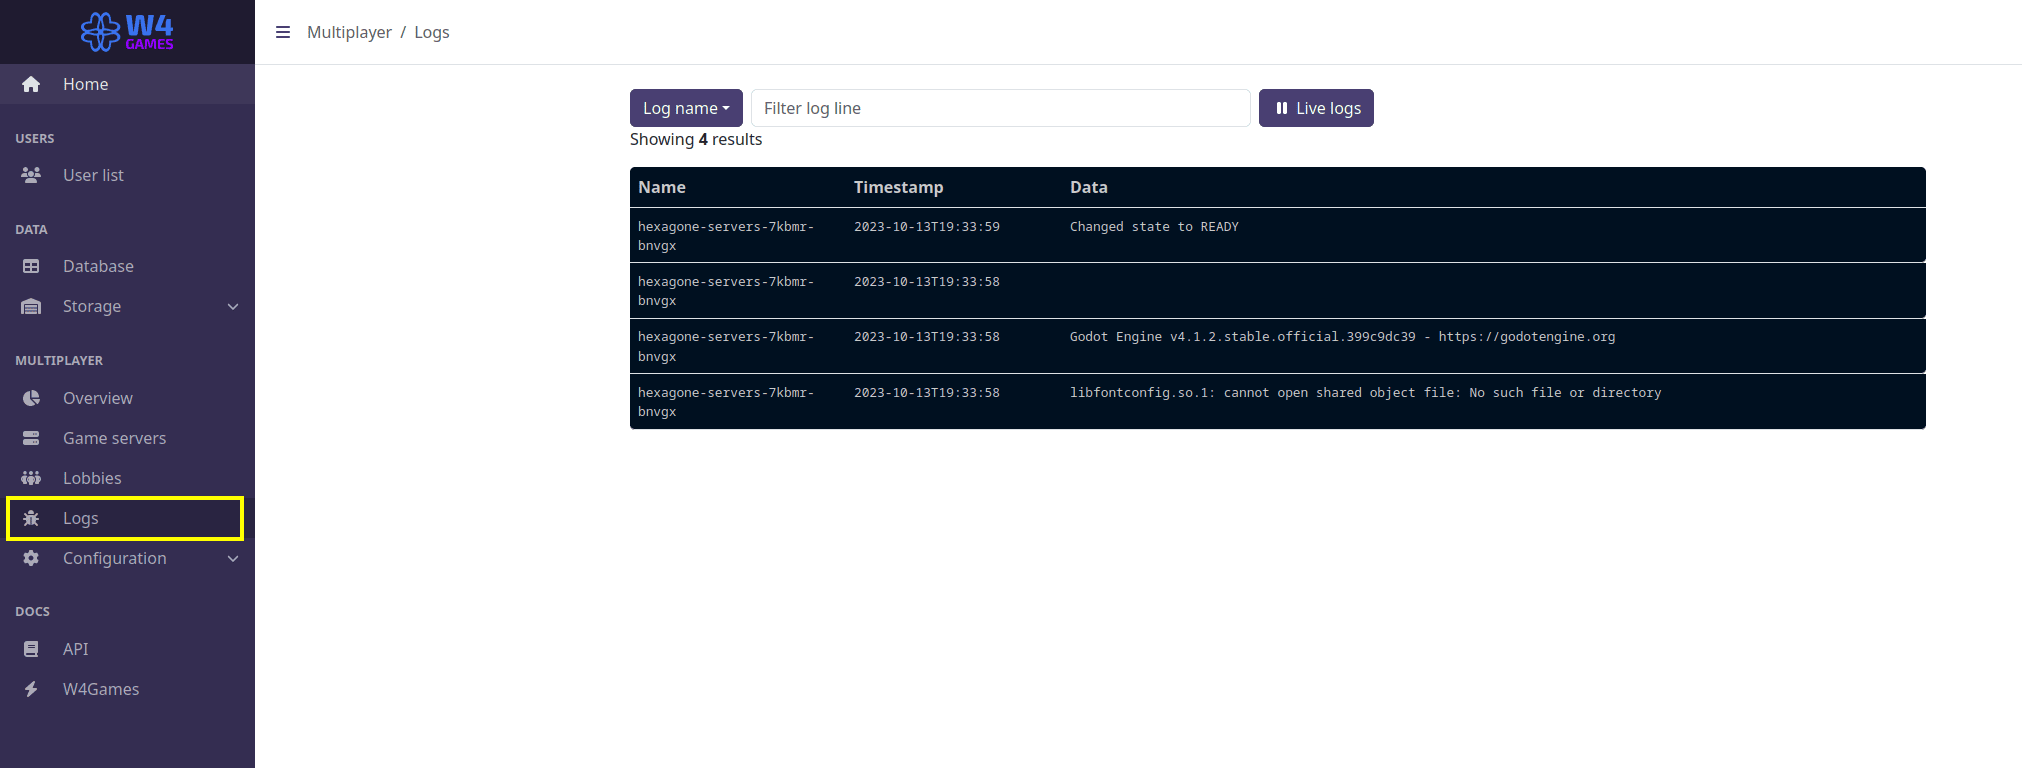
Press "live logs" to see it refresh in real-time. You can also filter the logs by using the filter box.
Beta and Staging Releases
The W4 builds/Fleets gives you the tooling to create different concurrent versions of your game.
You can upload different builds to different fleets.
As long as your build system can create a global constant with a version number, then you can add that in your lobby creation and your lobbies listing.
Differences in the final project on GitHub
The GitHub repository for this project has some notable changes compared to this tutorial:
All the functions are as strongly typed as possible.
We have a few little helpers, such as code to differentiate a server debug instances, and a command line argument parser.
We have a plugin allowing to run multiple games that connect to W4 servers.
We use local generation of user and password, so we can switch user profiles.
Android builds.
A synchronizer to copy server logs locally so you can observe them.
And a lot more.
We exhaustively commented the demo, so please do feel welcome to browse the repository and explore the source code.
Uploading a game build manually
Here's how you would upload your game build manually to W4. Doing this can help explain how the relationship between builds and fleets works.
Note
This is completely optional! It's an alternative method to using the in-editor helper. You can skip it and come back to it later.
First, export your game in Godot. Then, open your web browser.
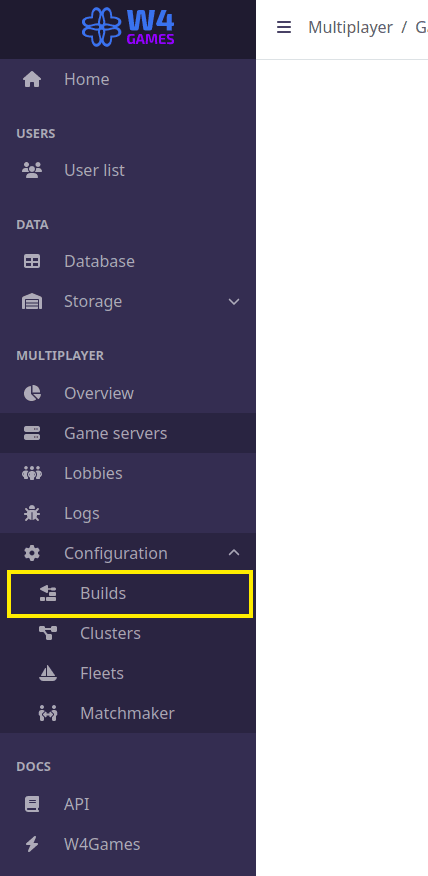
Login to your W4 dashboard, and select Builds in the menu on the left.
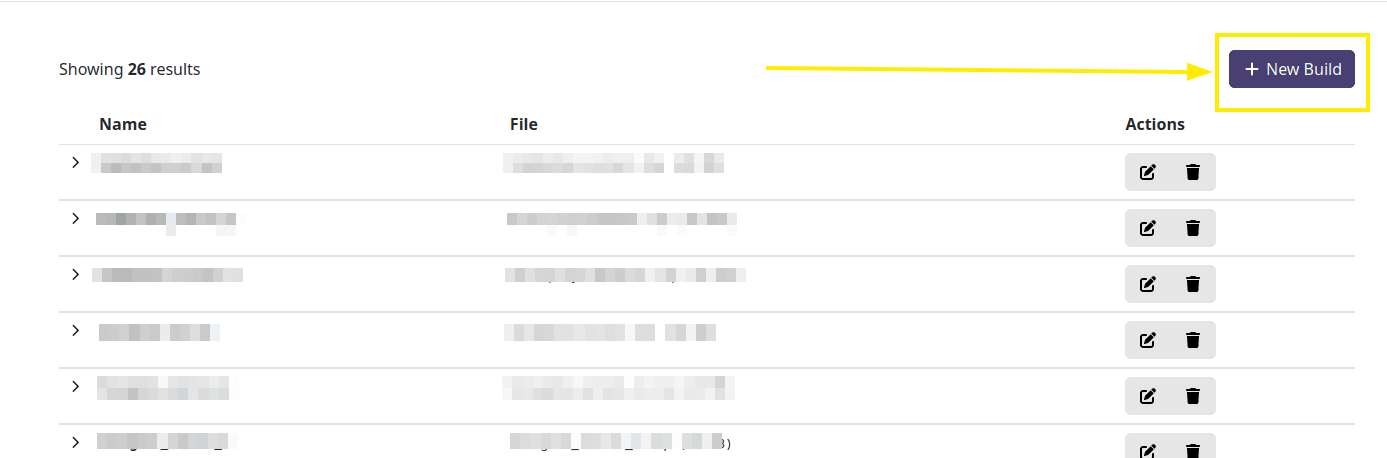
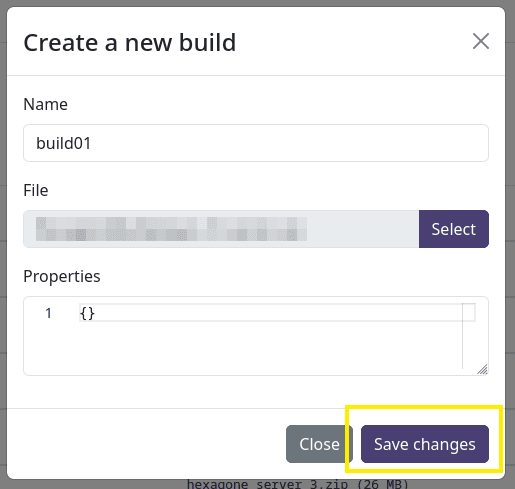
Create a new Build by clicking the button in the top-right.
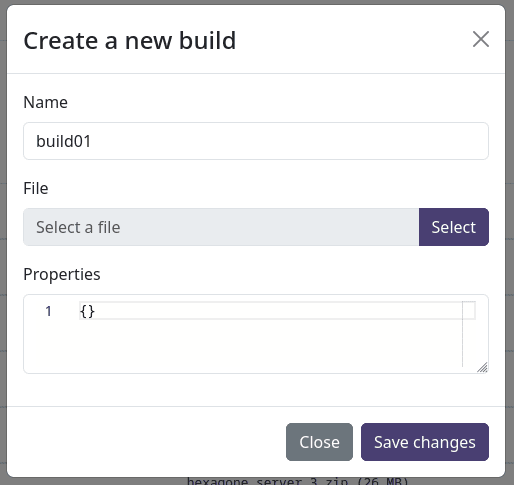
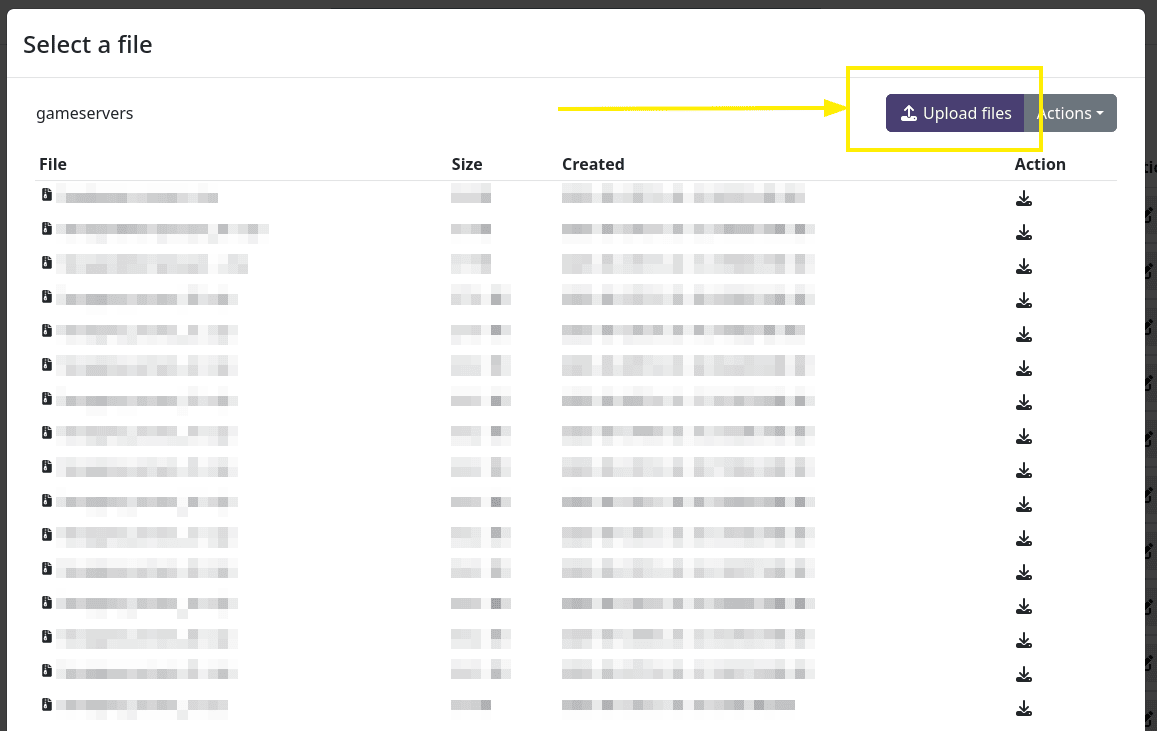
Name your build something sensible, then click the Select button to open the file browser.
Click the Upload files button in the top-right.
In the popup, click Browse... to open the file browser. Then, browse to the location of your Godot export, open the file, and click the Save button.

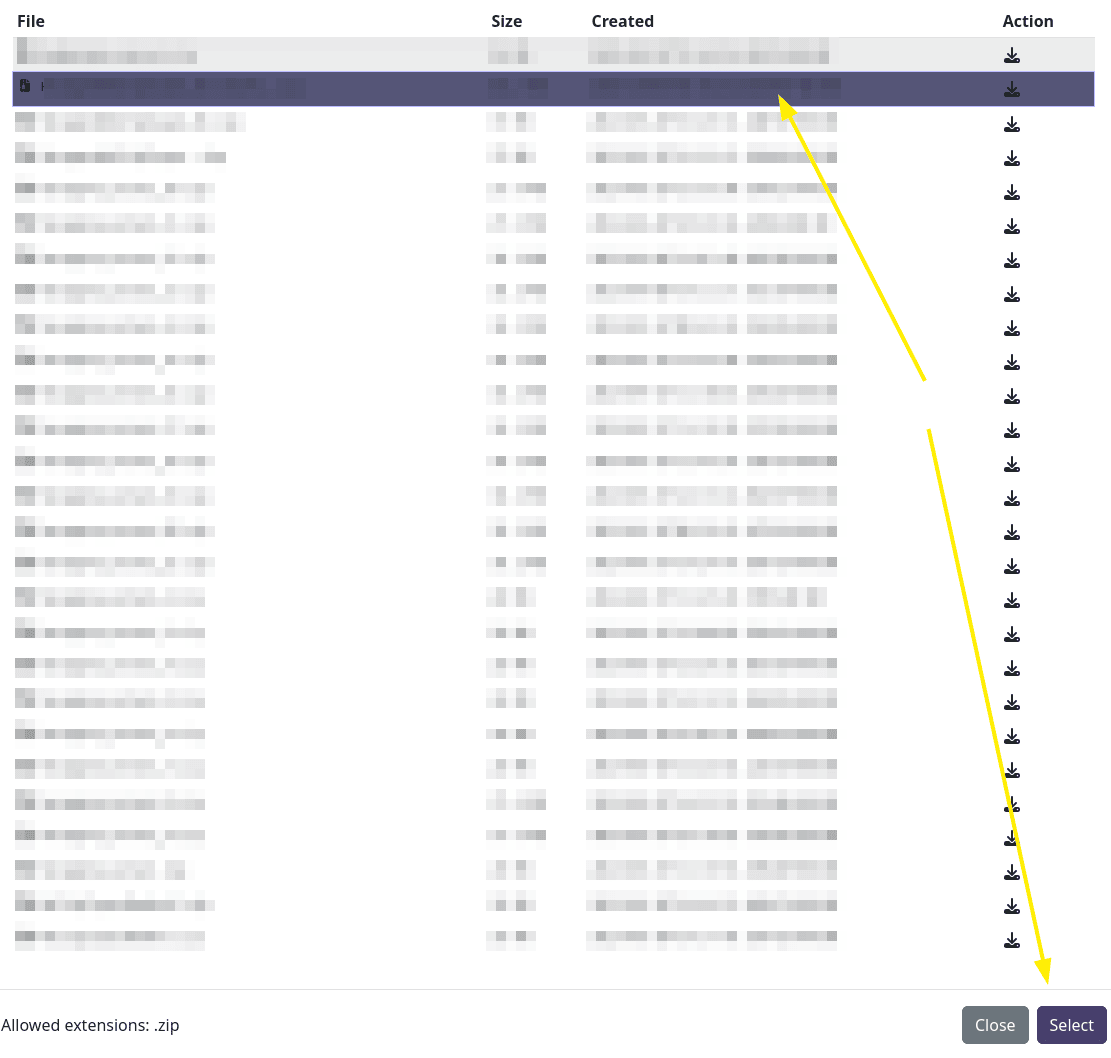
Find your newly uploaded file in the file list (if it's your first build, you'll only have only one file).
Then, click the Select button in the bottom-right.
Click the Save changes button.
Go to the Fleets page by clicking Fleets in the menu on the left.
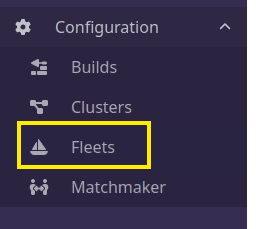
Click the edit icon to the right of your fleet, in the Actions column. It's an icon with a pencil over a sheet of paper.

In the Build dropdown menu, select the build you just uploaded, and click Save.

There you go! You now know how to upload builds manually.
Known Bugs
saml relaystate comes from another ip address
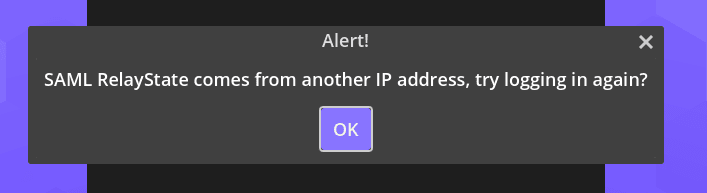
An error that says "saml relaystate comes from another ip address"
You might encounter this sometimes; this is a W4 bug that is being worked on. Ignore it, and restart the game when that happens.
More Resources
Below are a few collected quality links to learn more about networking.
Licenses
All scripts are under MIT license, credited to W4 unless specified otherwise in the file's header.
All assets are CC-by-SA and should be credited to GDQuest except the sounds, which are by TheRandomSoundByte2637 and Kevin MacLeod.
Tutorial icons courtesy of https://lucide.dev and https://copyicon.com/